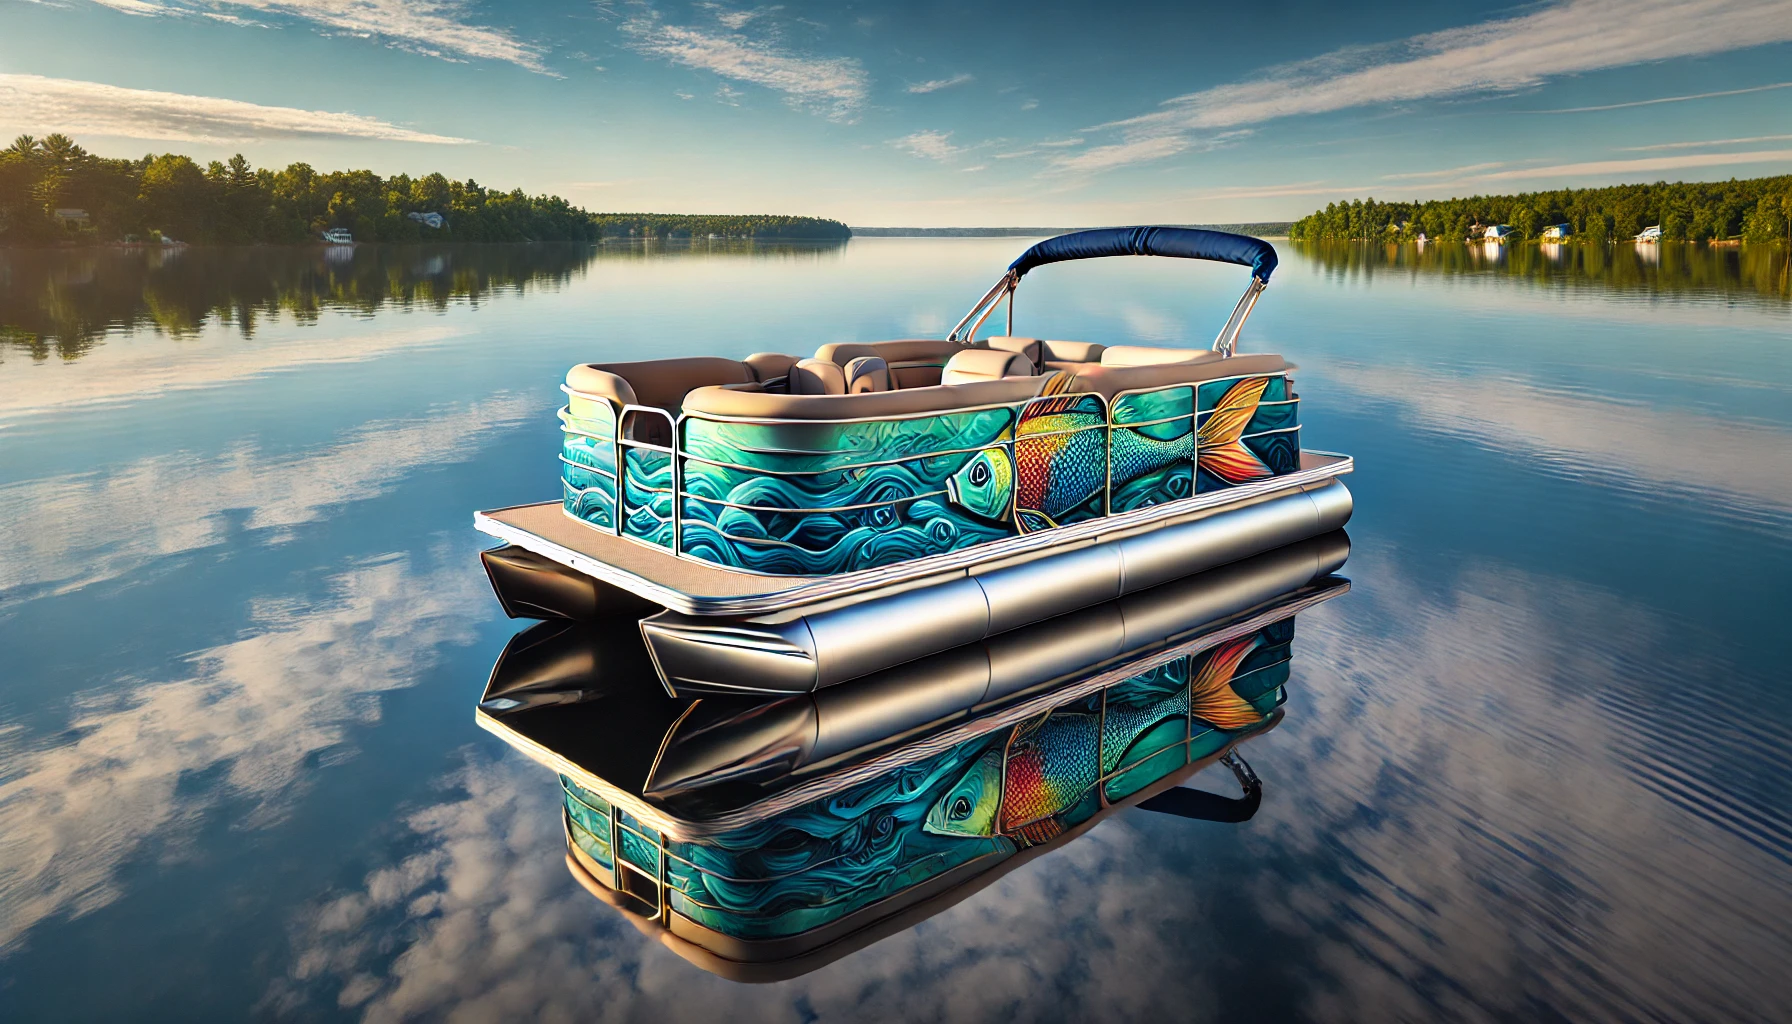
How to Paint a Design on the Topside of a Pontoon Boat: A Complete Guide
How to Paint a Design on the Topside of a Pontoon Boat: A Complete Guide
Customizing your pontoon boat with unique designs can make it stand out and express your personality. Here’s a complete step-by-step guide to help you paint a design or picture on the topside of your pontoon boat, ensuring a professional finish that lasts.
1. Plan Your Design
Before you begin, consider the overall look and style you want:
- Sketch Your Design: Sketch the design to visualize how it will look on your boat. Decide on the colors, shapes, and any other artistic elements.
- Measure and Scale: Measure the area you plan to paint, ensuring that your design fits well and maintains its proportions.
2. Gather the Materials
To paint the top of your pontoon boat effectively, you’ll need:
- Marine-Grade Paint: Choose durable marine-grade paints designed for the specific material of your boat. Acrylic urethane is a popular choice because it’s resilient to water, UV rays, and general wear.
- Primer: Select a primer that works with both your paint type and the boat material (e.g., aluminum or fiberglass). Aluminum requires an etching primer, while fiberglass needs a primer that’s compatible with gel coats.
- Brushes, Rollers, and Spray Tools: High-quality brushes and rollers ensure smooth application. A spray gun can help with even coverage on larger areas.
- Stencils or Masking Tape: If your design includes intricate shapes or lettering, stencils or masking tape will help keep edges clean.
- Protective Equipment: Wear gloves, a mask, and safety glasses to protect yourself from fumes and chemicals.
- Cleaner and Solvent: Use a marine-grade cleaner and solvent for surface preparation.
3. Prepare the Surface
Preparation is crucial to ensure the paint adheres well and lasts longer.
- Clean the Area: Thoroughly wash the topside of the boat with a marine-grade cleaner to remove any grease, dirt, and grime. Rinse well and allow it to dry completely.
- Sand the Surface: Lightly sand the area to be painted with medium-grit sandpaper. This will create a rough profile for the primer to adhere to.
- Remove Residue: Wipe down the sanded area with a solvent to remove all dust and residue from sanding, ensuring a clean surface.
4. Apply the Primer
Priming prepares the surface to hold the paint, providing a foundation that ensures durability and protection.
- Select the Appropriate Primer: Use an etching primer for aluminum or a compatible fiberglass primer for fiberglass boats.
- Apply the Primer Evenly: Use a roller or brush to apply a thin, even coat of primer. Follow the drying time specified on the primer’s instructions, typically 1-2 hours between coats.
- Multiple Coats: Two coats of primer provide better coverage and longevity. Allow each coat to dry completely before applying the next.
5. Outline Your Design
Now that the boat is primed and ready, it’s time to lay out your design.
- Position Stencils or Tape: If you’re using stencils or masking tape, carefully apply them to outline your design. Make sure they are secure to prevent any paint bleeding under the edges.
- Freehand Method: If you’re painting freehand, lightly sketch the design with a pencil or erasable marker.
6. Paint the Design
Painting in layers ensures better coverage and a professional look.
- Start with Base Colors: Apply the primary colors first. Use thin, even layers to prevent drips and ensure consistent coverage.
- Add Details and Textures: Once the base coat dries, use smaller brushes for finer details and layering effects. This step may require patience, but it will add depth and visual interest to your design.
- Remove Stencils Carefully: If you used stencils or masking tape, peel them away slowly once the paint is dry. This will help avoid pulling up any paint.
7. Seal with a Clear Coat
A clear coat will protect your design from UV rays, water exposure, and general wear, ensuring it lasts longer.
- Use Marine-Grade Clear Coat: Apply a marine-grade clear coat over your design, following the instructions on the product.
- Apply Multiple Layers: For maximum protection, apply two to three coats. Allow each coat to dry before applying the next, usually waiting around 1-2 hours between applications.
- Finish with Curing Time: Let the clear coat cure fully, which could take several days, depending on the product. Avoid exposing the painted surface to water or harsh elements during this period.
8. Let the Design Cure
To ensure your design is durable, allow the paint and clear coat to cure completely.
- Optimal Curing Conditions: Place the boat in a well-ventilated area with moderate temperatures and low humidity.
- Avoid Water Exposure: Keep the painted surface dry and out of direct sunlight during the curing period, which usually ranges from 48-72 hours.
Additional Tips
Here are some extra tips to help your project go smoothly:
- Choose the Right Conditions: Ideal painting conditions are low humidity and temperatures between 60°F-80°F. High humidity or extreme temperatures can affect paint drying and adhesion.
- Protect Yourself: Wear a mask, gloves, and safety glasses, especially when working in enclosed areas or with spray paints.
- Perform Regular Maintenance: Over time, regular cleaning and occasional touch-ups will keep your design looking fresh. Inspect the paint for chips or scratches and touch them up as needed to maintain the look and longevity of the paint.
Summary
Painting a custom design on your pontoon boat is a rewarding project that can give your vessel a unique, personal touch. By following these steps—planning, prepping, priming, painting, sealing, and curing—you can achieve a professional-looking finish that will stand up to sun, water, and time. Enjoy your newly customized pontoon boat!
1. What type of paint should I use for painting a design on my pontoon boat?
You should use marine-grade acrylic urethane paint. This type of paint is specifically designed to withstand water exposure, UV rays, and general wear and tear. It’s durable and suitable for both aluminum and fiberglass surfaces, commonly used on pontoon boats.
2. Do I need to sand the boat’s surface before painting, and why?
Yes, sanding is essential for preparing the surface. Lightly sanding the topside area creates a rough profile that allows the primer and paint to adhere more securely. It removes any existing coatings, making the surface clean and ideal for a long-lasting paint job.
3. Can I paint on a pontoon boat without priming it first?
It’s highly recommended to apply a primer before painting. The primer serves as a foundation, helping the paint adhere better and adding an extra layer of protection. For aluminum boats, use an etching primer, and for fiberglass, choose a primer compatible with gel coats. This step is crucial for achieving a smooth, durable finish.
4. How can I ensure my design doesn’t smudge or bleed during painting?
To prevent smudging or bleeding, use stencils or masking tape to outline your design. Make sure the stencils or tape are securely attached before painting. Applying paint in thin, even layers also minimizes bleeding, allowing the design to stay sharp and clean.
5. How do I protect my painted design from sun and water damage?
Once your design is painted and fully dry, apply a marine-grade clear coat to seal and protect it. This clear coat acts as a barrier against UV rays, water, and general wear, extending the life of your design. Applying two or three layers of clear coat and allowing it to cure fully will give your design optimal protection.


