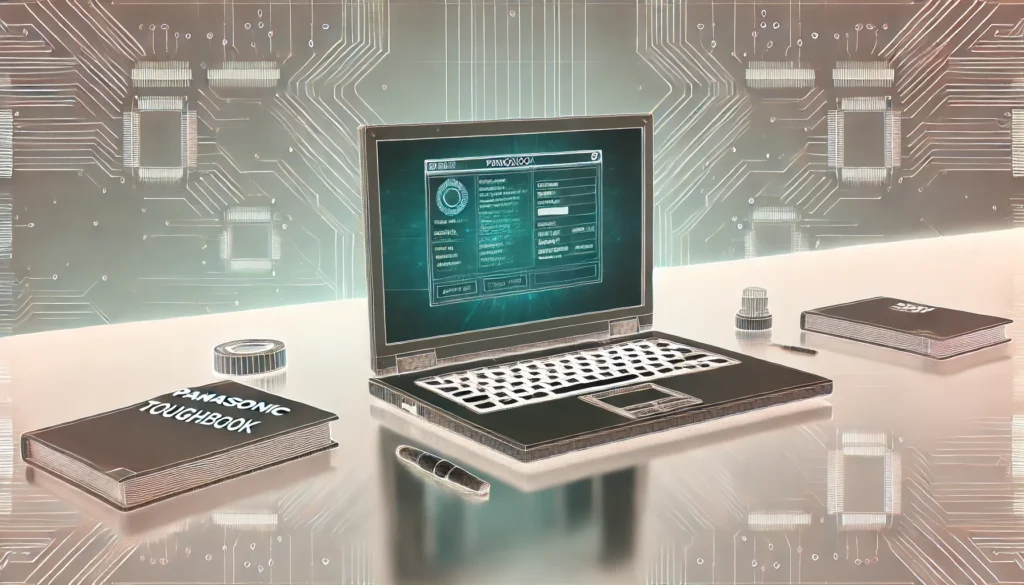
How to Safely Dump BIOS from a Panasonic Toughbook Laptop: Complete Guide

how to dump the bios from my panasonic toughbook laptop
How to Dump the BIOS from a Panasonic Toughbook Laptop
Dumping the BIOS from your Panasonic Toughbook laptop is a technical but rewarding process that allows you to back up or analyze your system’s firmware. This guide provides a detailed, step-by-step explanation for safely Dumping the BIOS, ensuring you can use the information effectively without risking your device.
Why Dump Your BIOS?
Dumping the BIOS serves various purposes, including:
- Backup: Safeguard your firmware against accidental corruption.
- Analysis: Study your BIOS settings for optimization or troubleshooting.
- Modification: Prepare for advanced configurations or customizations.
Important Preparations
Before proceeding, take the following precautions:
- Backup Data: Save all important files on your laptop to avoid data loss.
- Connect to Power: Ensure your Toughbook is plugged in to prevent interruptions.
- Disable Antivirus Software: Temporarily turn off antivirus programs to avoid conflicts.
- Understand the Risks: BIOS dumping or modification can void warranties or damage your system if not done correctly.
Step-by-Step Guide to Dumping the BIOS
Step 1: Identify Your Toughbook Model
Locate the model number of your Toughbook. You can find this:
- On a label under the laptop.
- Within the BIOS settings (access by pressing a specific key like F2 during startup).
Step 2: Obtain the Right Tool
Most Panasonic Toughbooks use AMI (American Megatrends Inc.) BIOS, making the AMI Firmware Update Utility (AFU) a suitable tool. You can download it in two versions:
- AFUWIN for Windows.
- AFUDOS for DOS environments.
Step 3: Download and Install AFU Utility
- Visit the AMI website or a trusted source to download the utility.
- Select the appropriate version for your operating system (Windows or DOS).
- Install or copy the utility to a suitable location on your laptop or USB drive.
Step 4: Prepare a Bootable USB (For DOS Users)
If using AFUDOS, create a bootable USB drive:
- Format the USB drive to FAT32.
- Use tools like Rufus to make it bootable with DOS.
- Copy the AFUDOS utility onto the USB drive.
Step 5: Dump the BIOS
Using AFUWIN (Windows)
- Open AFUWIN as an administrator.
- Go to the Information tab.
- Click the Save button to start the BIOS backup.
- Specify the file name and destination for the dump file.
Using AFUDOS (DOS)
- Insert the bootable USB into your Toughbook.
- Restart the laptop and boot from the USB.
- At the DOS prompt, type the following command:
mathematica
AFUDOS.EXE /O biosbackup.rom
- Replace
biosbackup.romwith your preferred file name.
Step 6: Verify the BIOS Dump
After dumping the BIOS, check:
- File Size: Ensure it matches typical BIOS file sizes (several MBs).
- Integrity: Use tools to verify file integrity or compare with known hashes.
Step 7: Store the BIOS File Safely
Save the dumped BIOS file in multiple secure locations:
- External hard drives.
- Cloud storage services (e.g., Google Drive, OneDrive).
Additional Tips and Resources
- Official Support: Check the Panasonic Toughbook Support Center for model-specific tools or instructions.
- Forums: Join Toughbook forums like Badcaps for additional help.
- Professional Assistance: If you’re unsure, consult a professional or authorized service center to avoid risks.
Conclusion
Dumping the BIOS from your Panasonic Toughbook is a powerful way to protect and customize your laptop. By following this guide, you can safely complete the process and ensure your firmware is secure. Always approach such tasks with caution, as improper handling can lead to system issues. If in doubt, seek expert assistance to keep your laptop running smoothly.
1. Why should I dump the BIOS from my Panasonic Toughbook laptop?
Dumping the BIOS helps you create a backup, analyze system firmware, or prepare for modifications without risking your system’s integrity.
2. What tools do I need to dump the BIOS on a Toughbook?
You can use AMI Firmware Update Utility (AFU), available in Windows (AFUWIN) or DOS (AFUDOS) versions.
3. Is dumping the BIOS risky?
Yes, improper handling can damage your system or void your warranty. Always proceed with caution and back up your data beforehand.
4. How do I verify the BIOS dump file?
Check the file size and use integrity tools to ensure the dump is accurate and uncorrupted.
5. Where should I store the dumped BIOS file?
Save the file in multiple secure locations, such as an external hard drive or a reliable cloud storage service.
You May Also Read Here
How to Safely Dump BIOS from a Panasonic Toughbook Laptop
5StarsStocks.com Dividend Stocks


